Hot


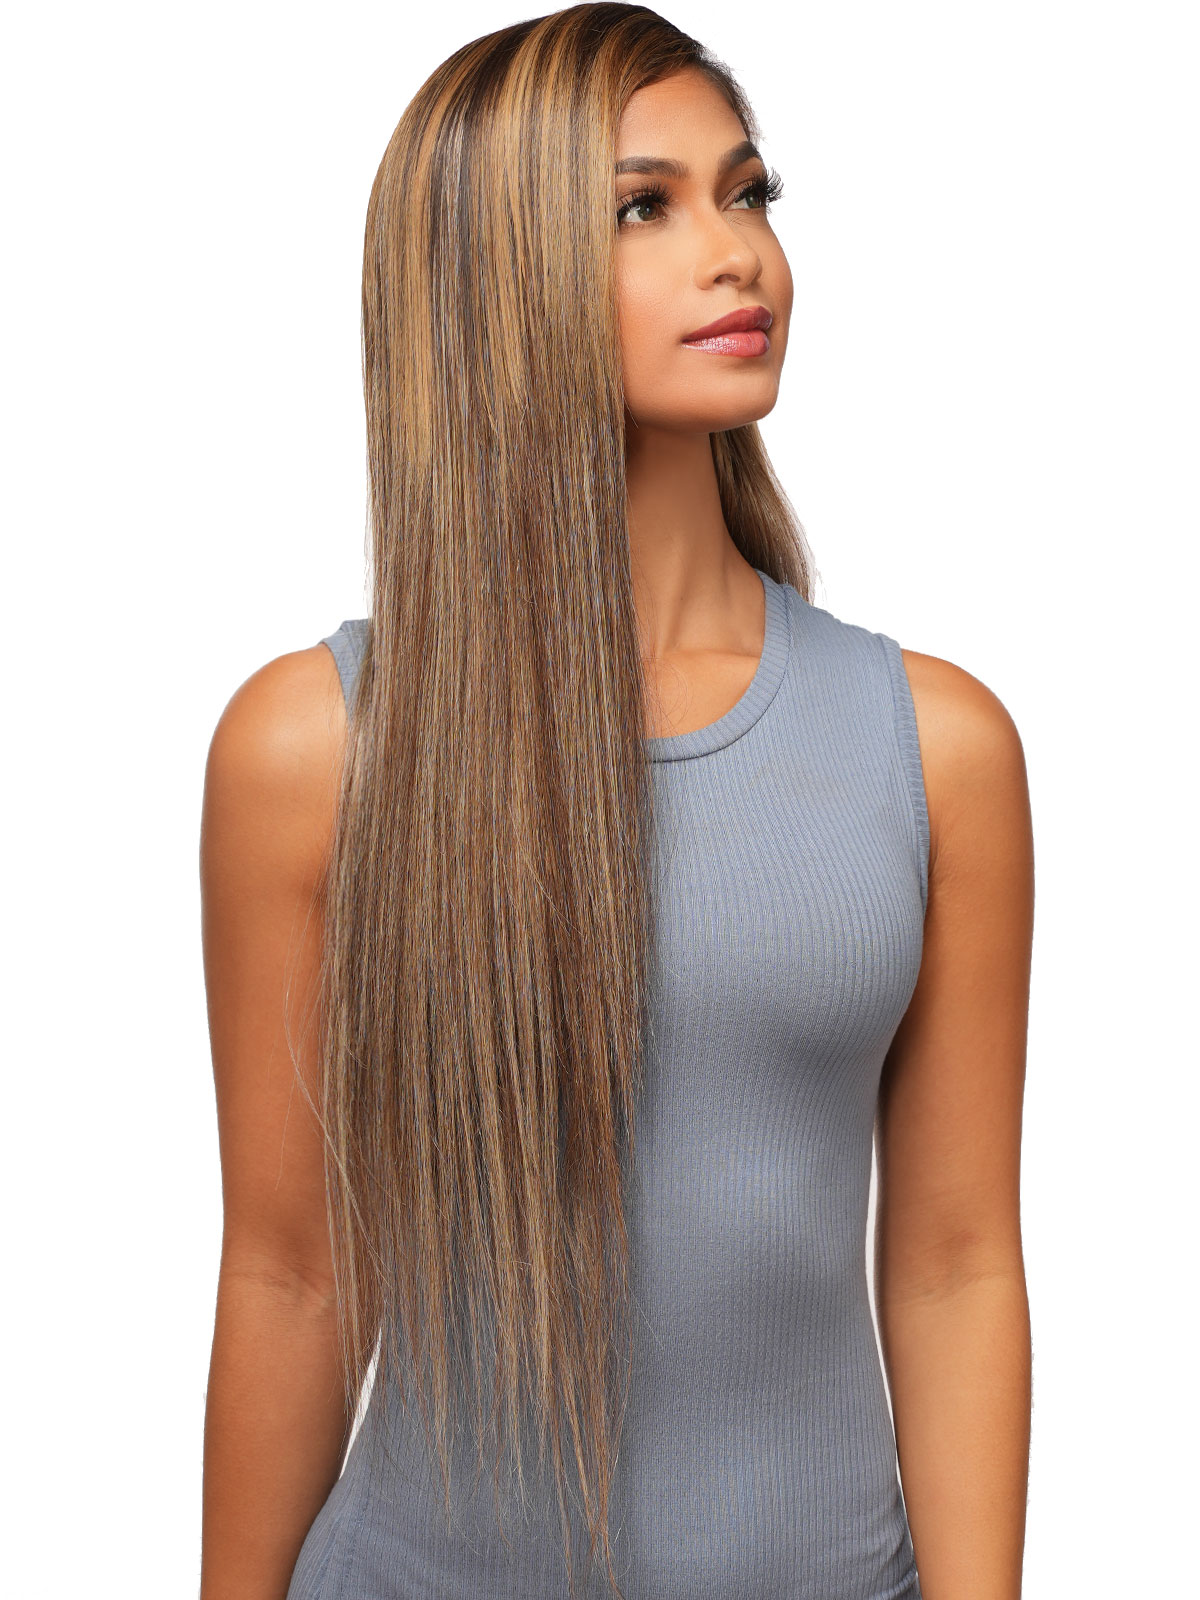
HAIR CLIP KINKY COILY(4A)10″ (6Pcs)
– Pre Colored For A Unique Look
– Pre-Permed Giving You Silkiness
– All You Need Is One Pack All In Solution
– Can Create Bouncy Curls Up To 350 Degrees
– Premium Realistic Fiber
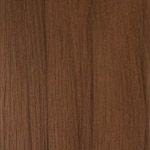
FOR VIEW COLORS IN STOCK GO B2B PORTAL
COLORS IN STOCK IN B2B PORTAL
![]()
![]()
![]()
![]()
![]()
![]()
Related products
-
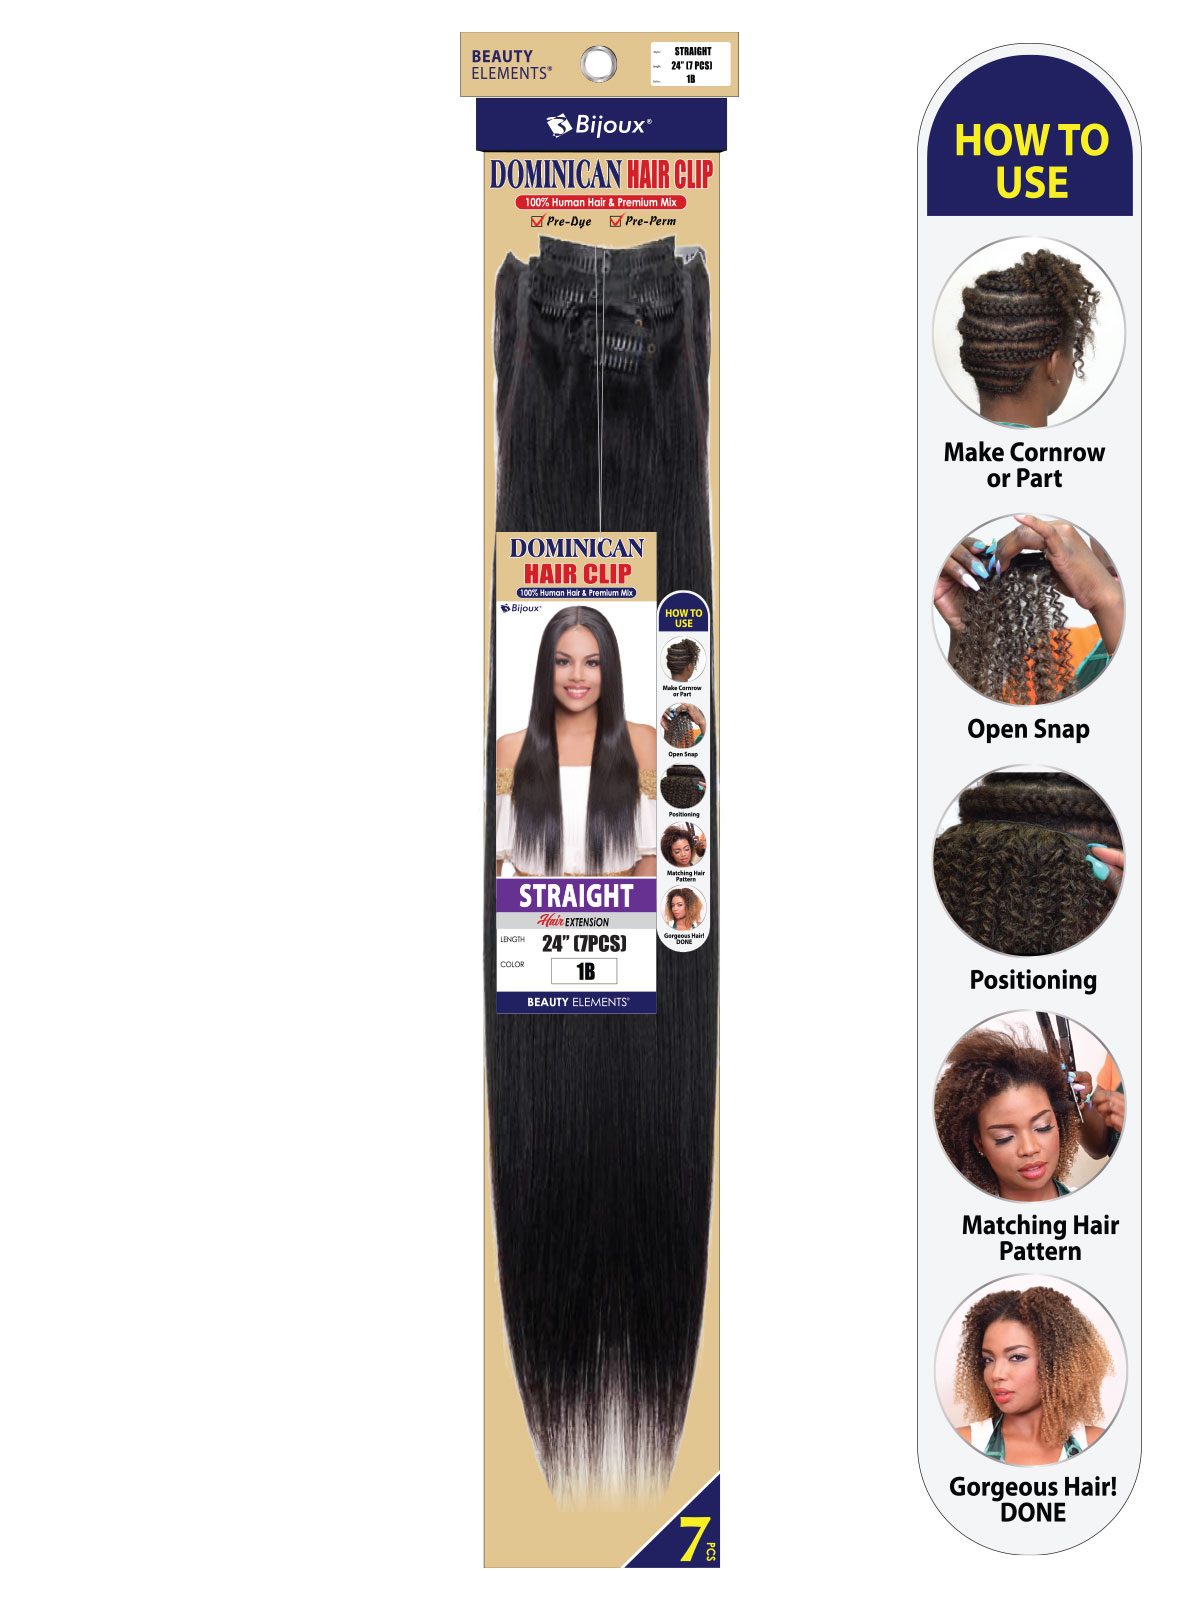
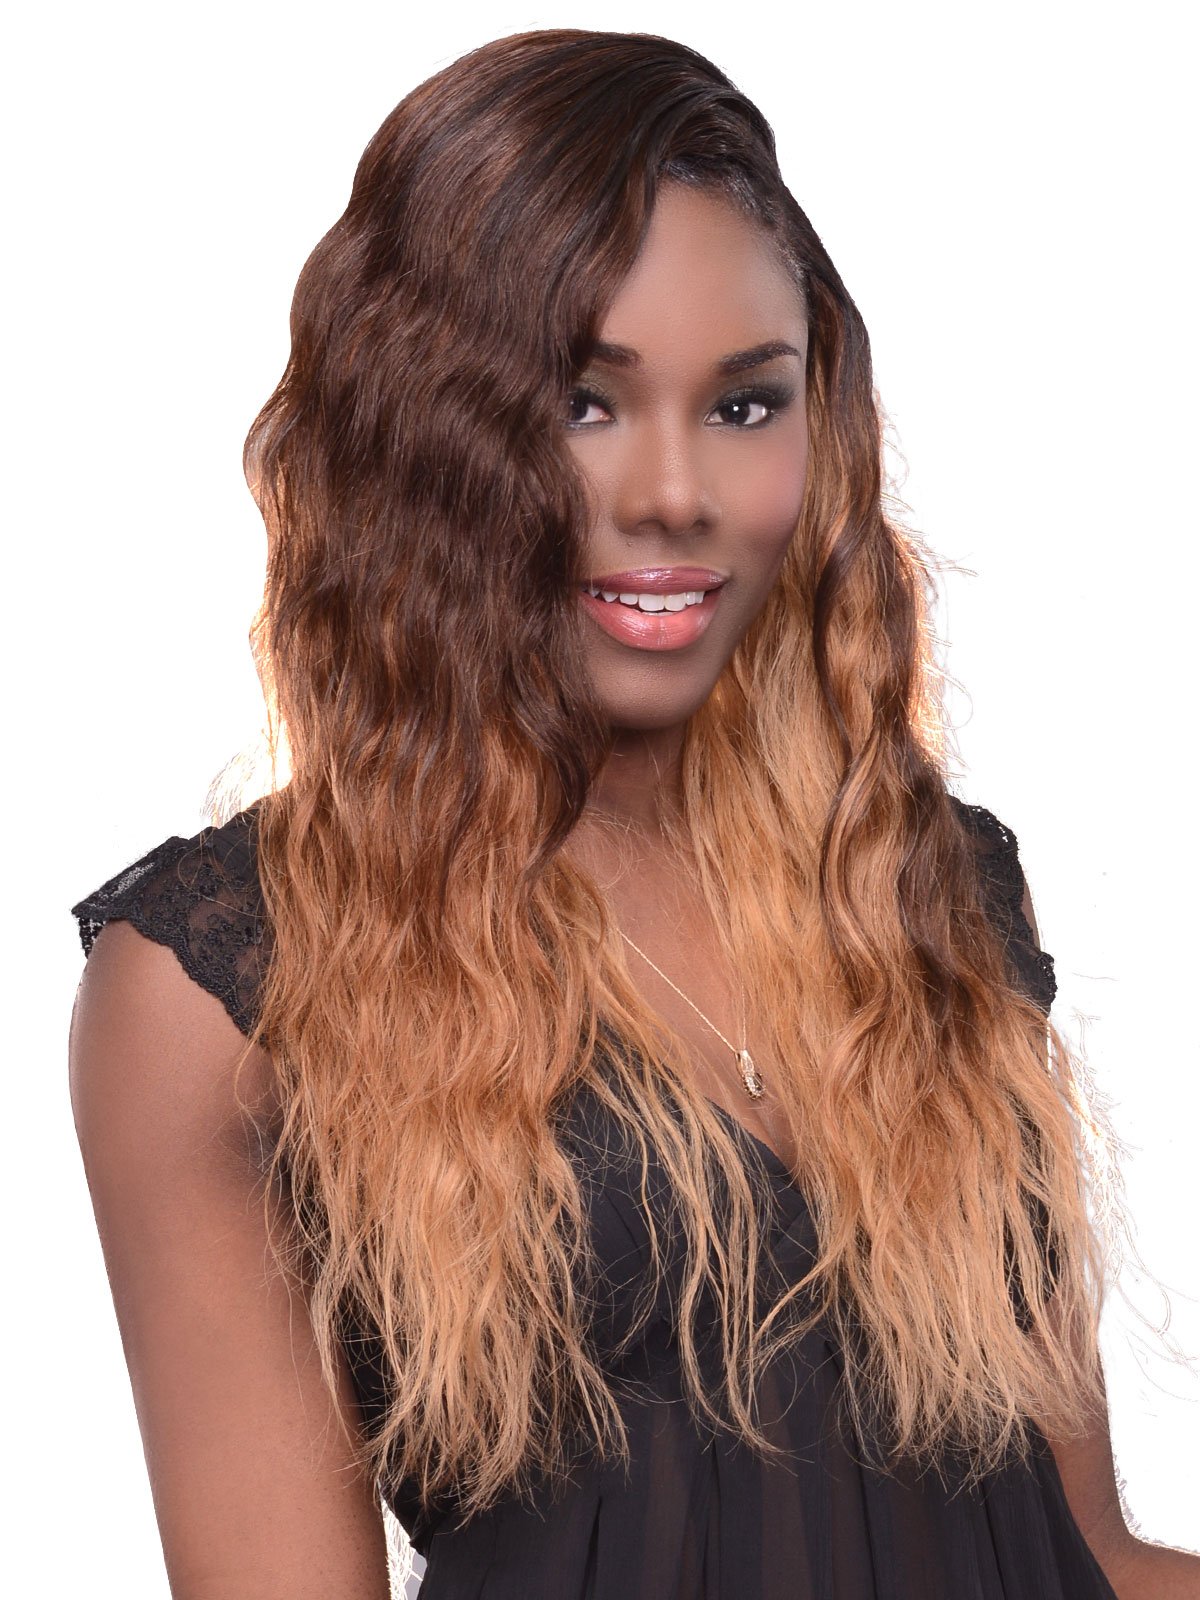
BIJOUX HH DOMINICAN HAIR CLIP STRAIGHT 24″ (9 Pcs Hair Clip)
 1
1 1425B
1425B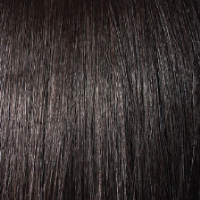 1B
1B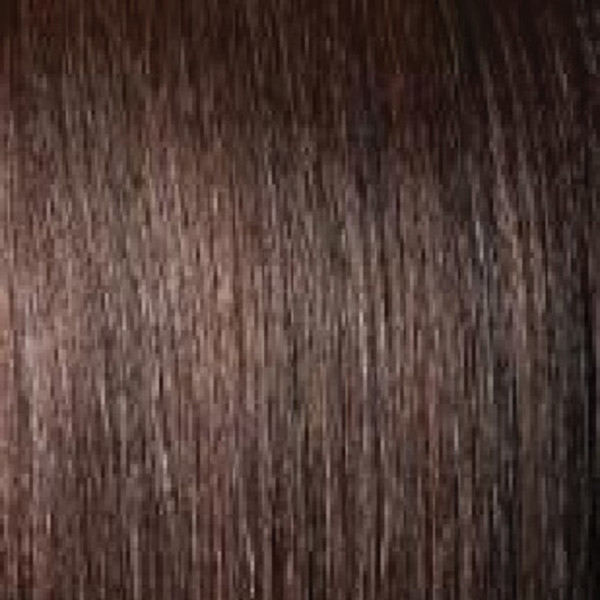 2
2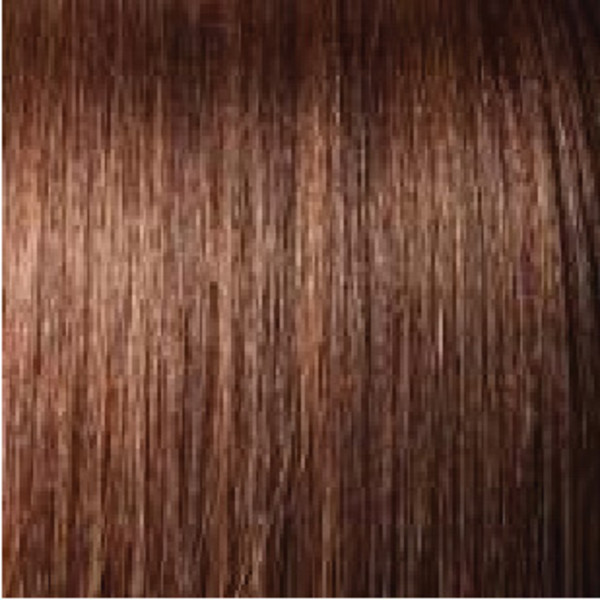 4
4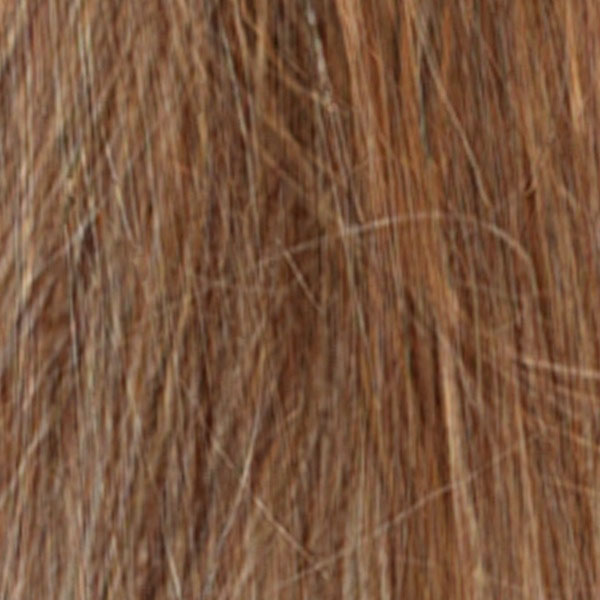 825B
825B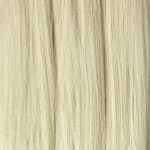 L613
L613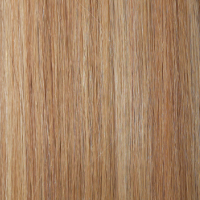 P61327
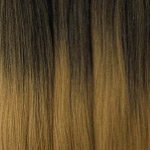 T1B27
T1B27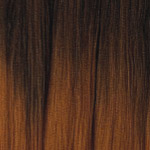 T1B30
T1B30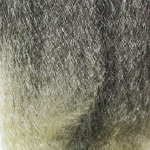 T1B613
 T1BBG
T1BBG -
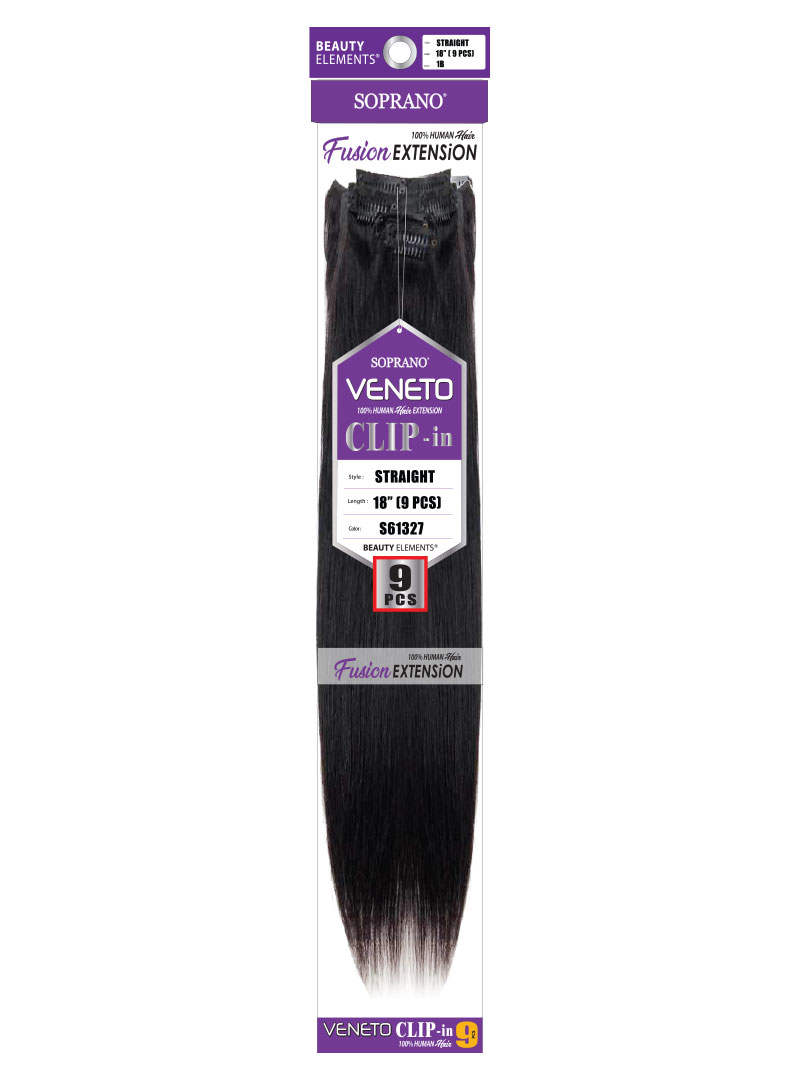
SOPRANO HH VENETO “CLIP” STRAIGHT (9PCS)
1
1B
2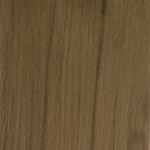 27
4
27
4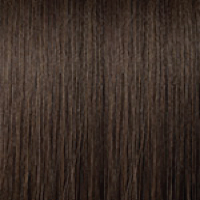 6
L613
6
L613 S1822S2730
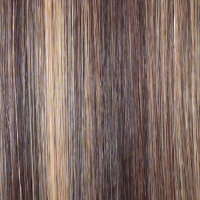 S427
S427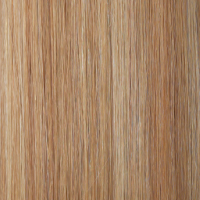 S61327
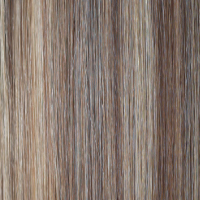 S622
S622 -
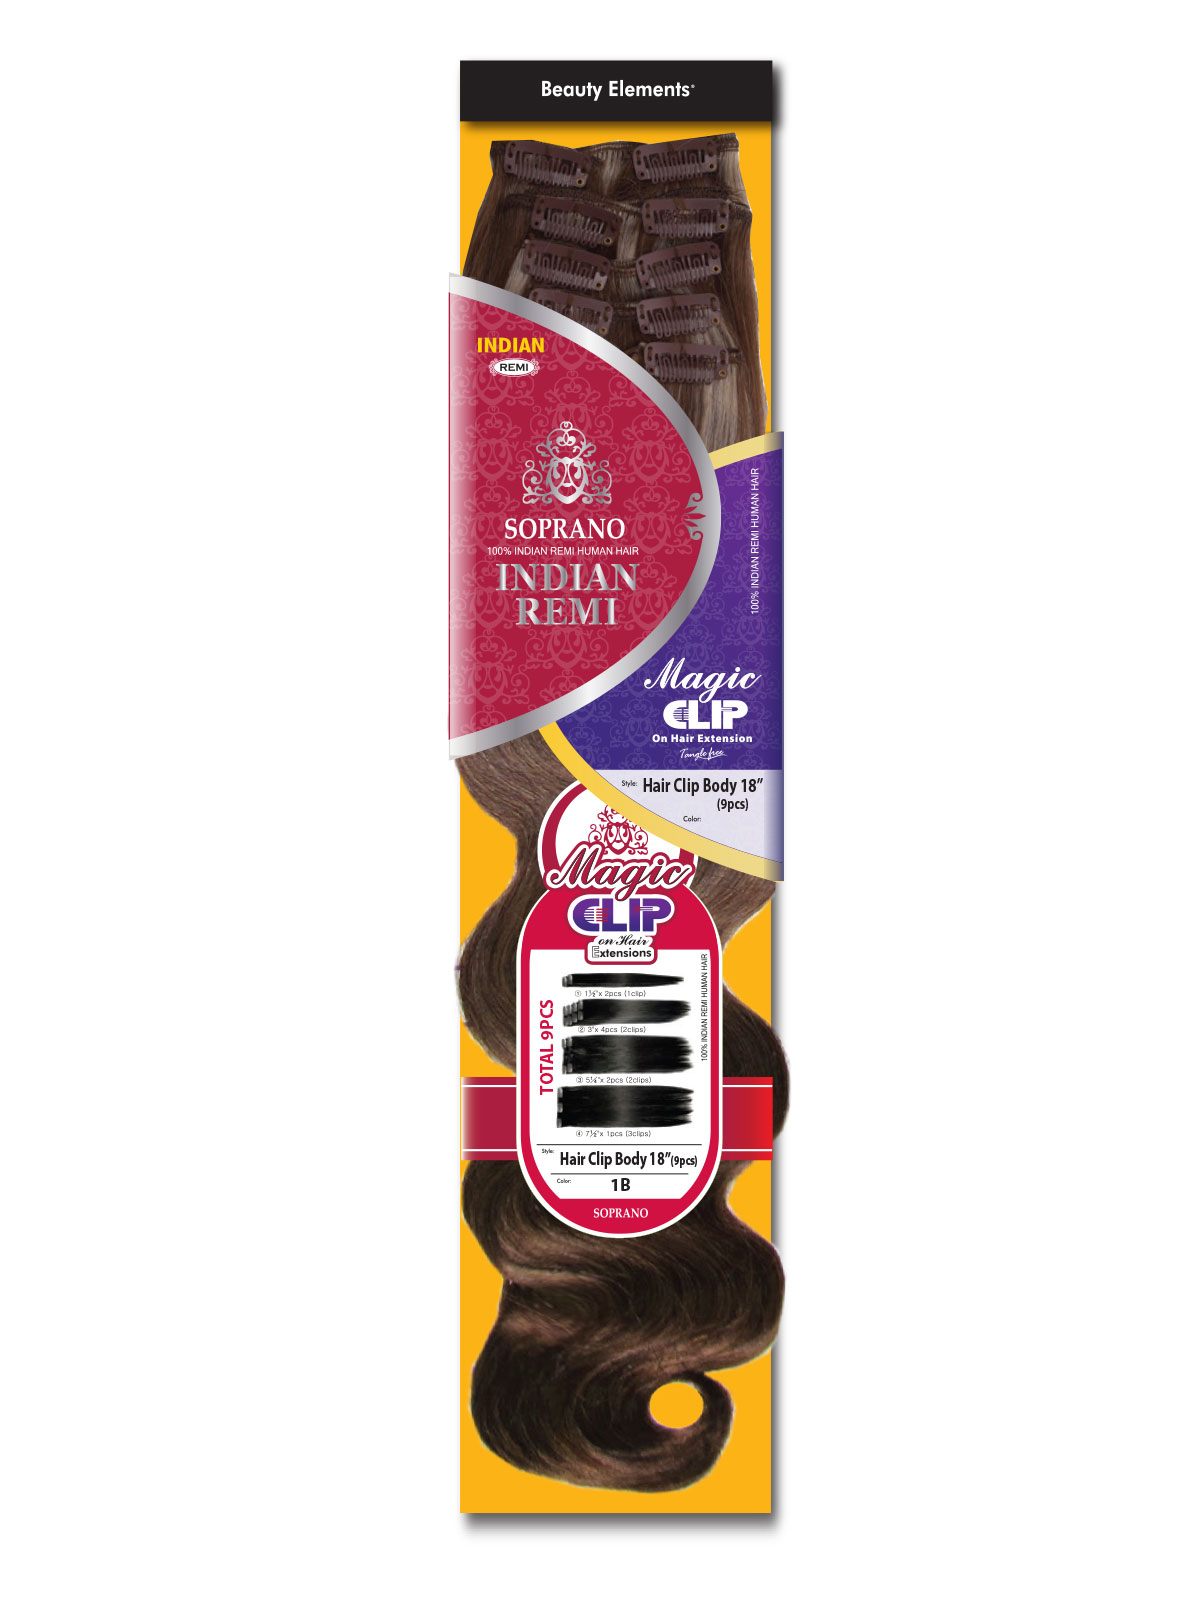
HH INDIAN REMI HAIR CLIP BODY 18″
 30
30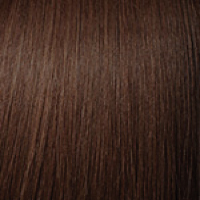 33
6
33
6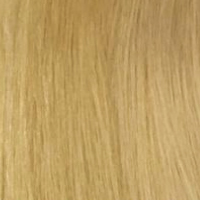 L22
L22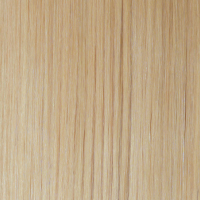 L24
L613
L24
L613 NATURAL
 -
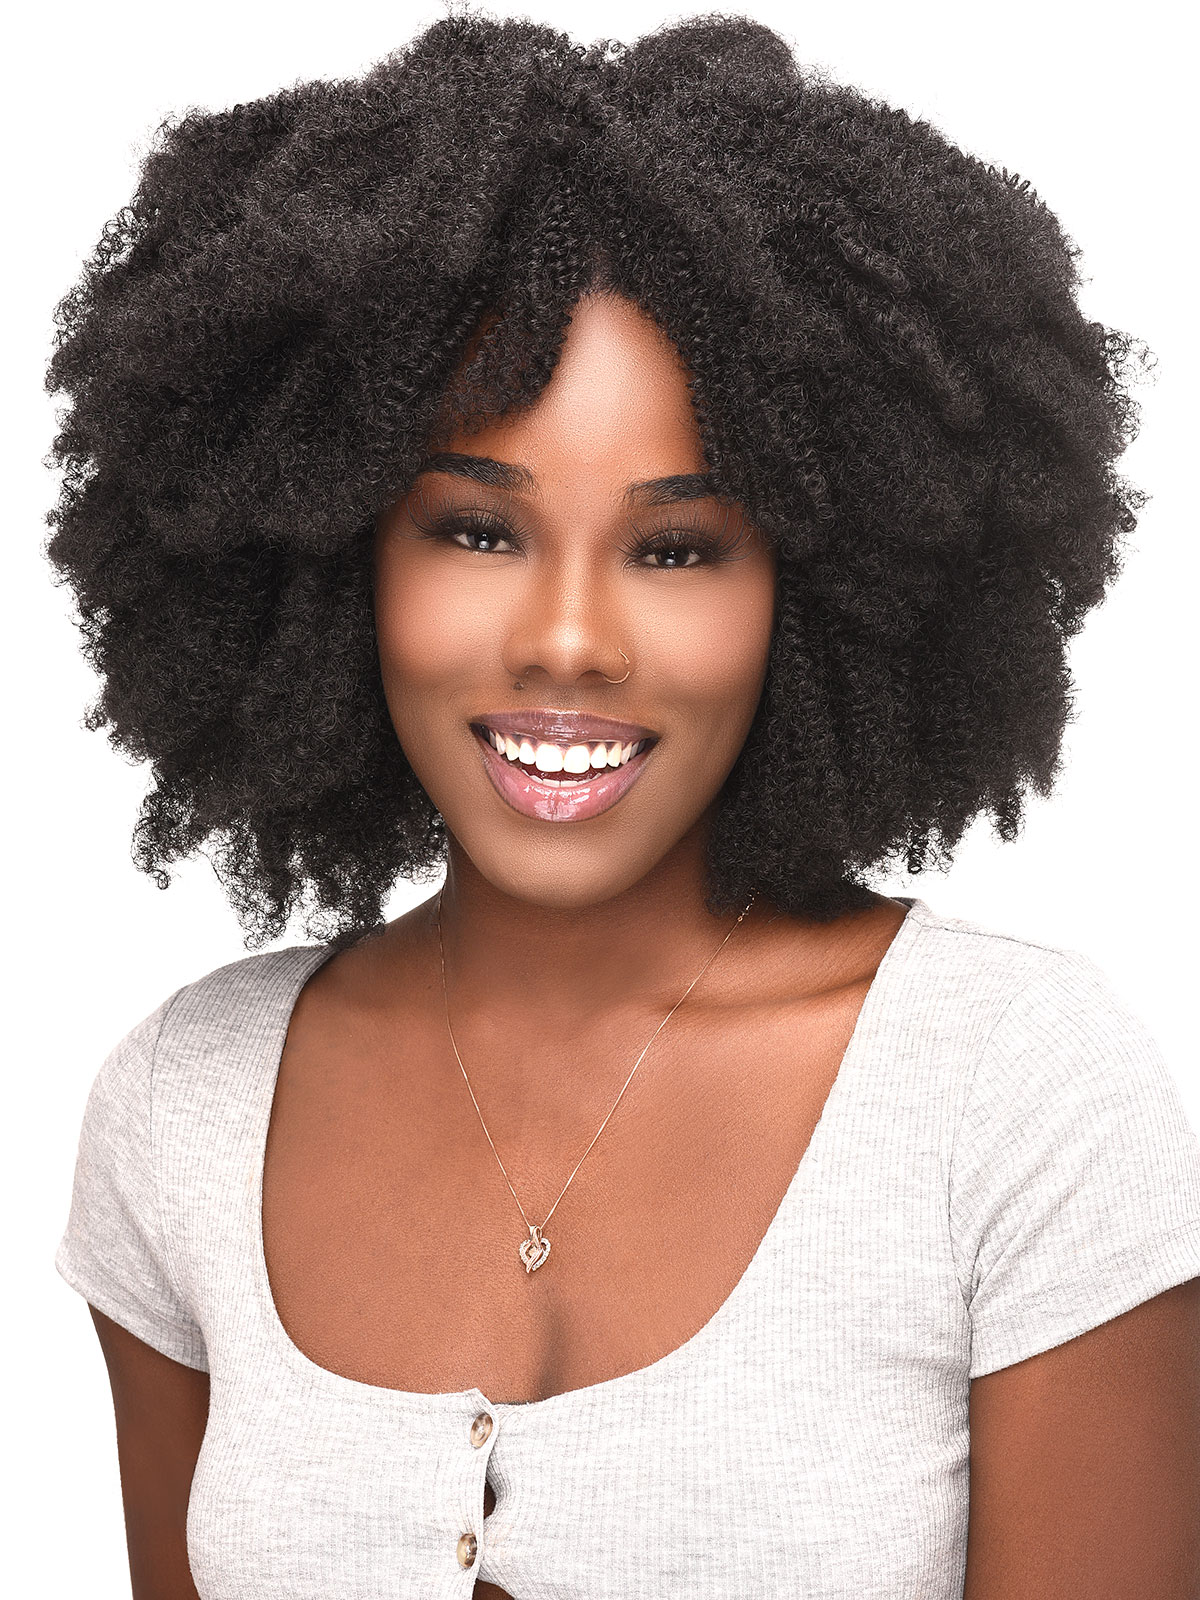
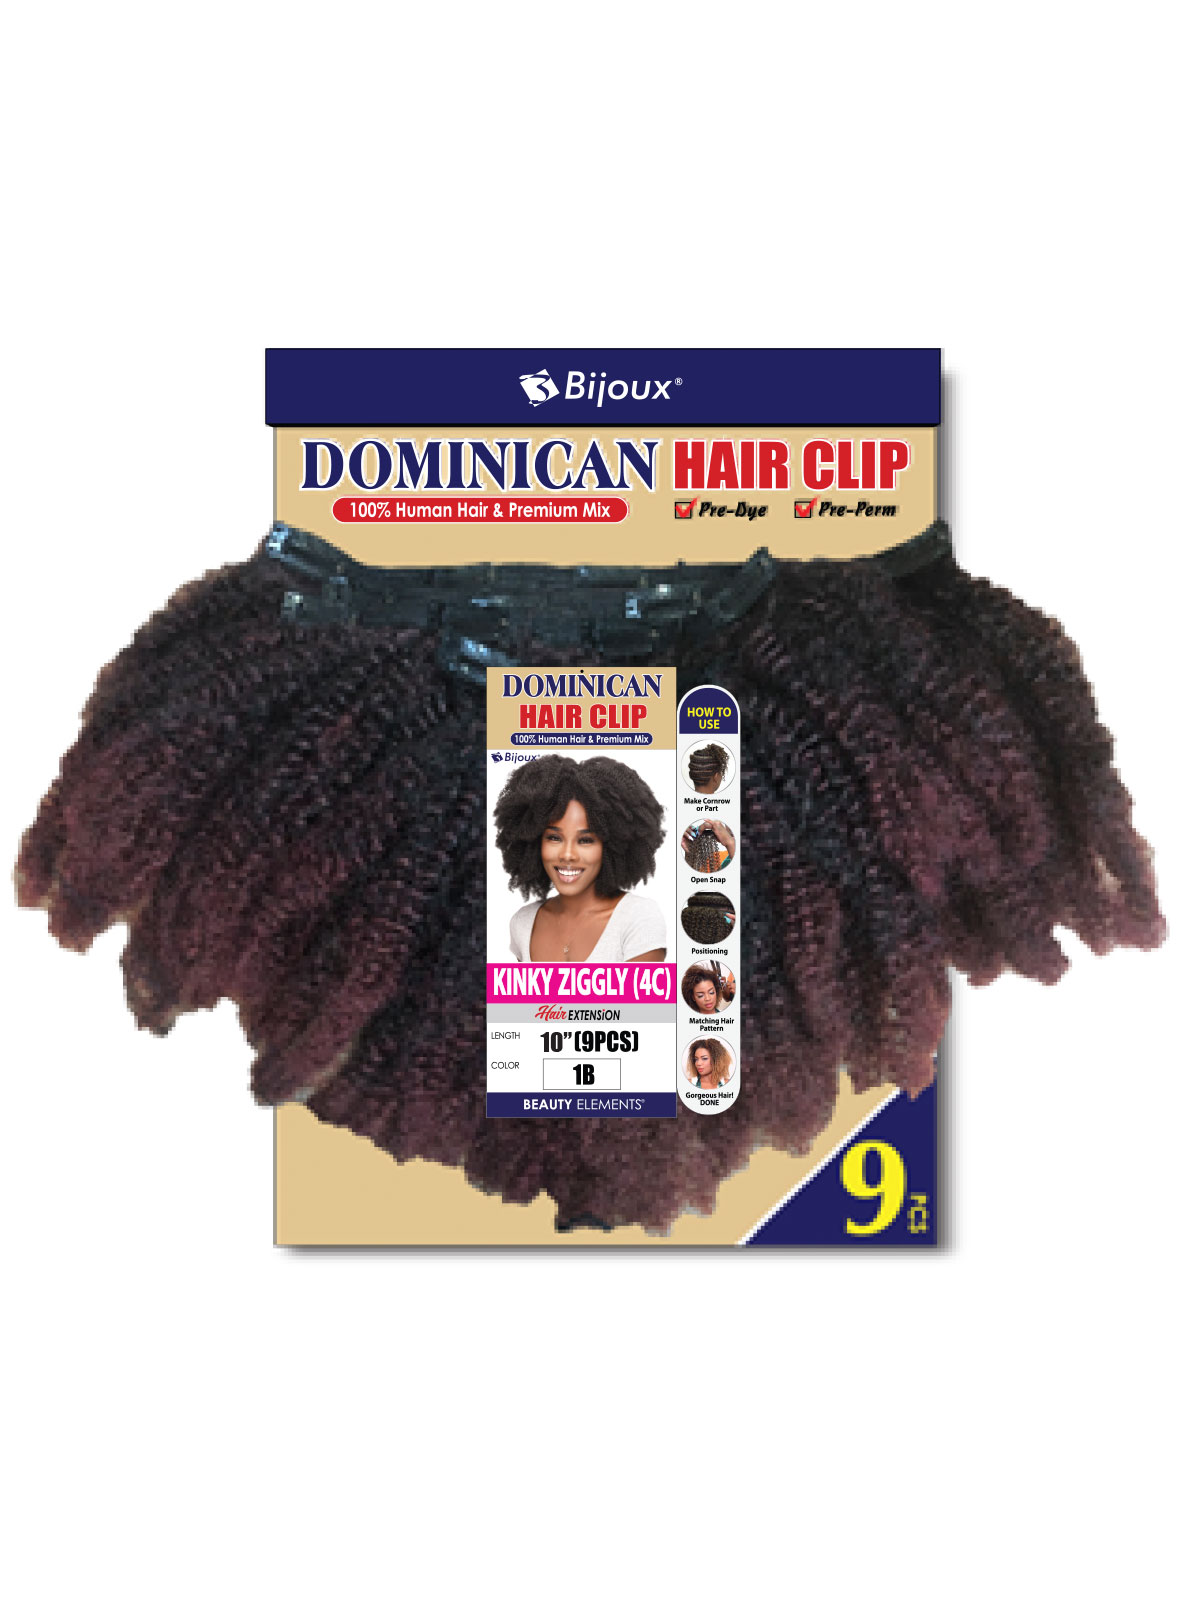
KINKY ZIGGLY 4C 10″ (9 Pcs Hair Clip)
1
1B
2
4
T1B27
T1B30
T1BBG -
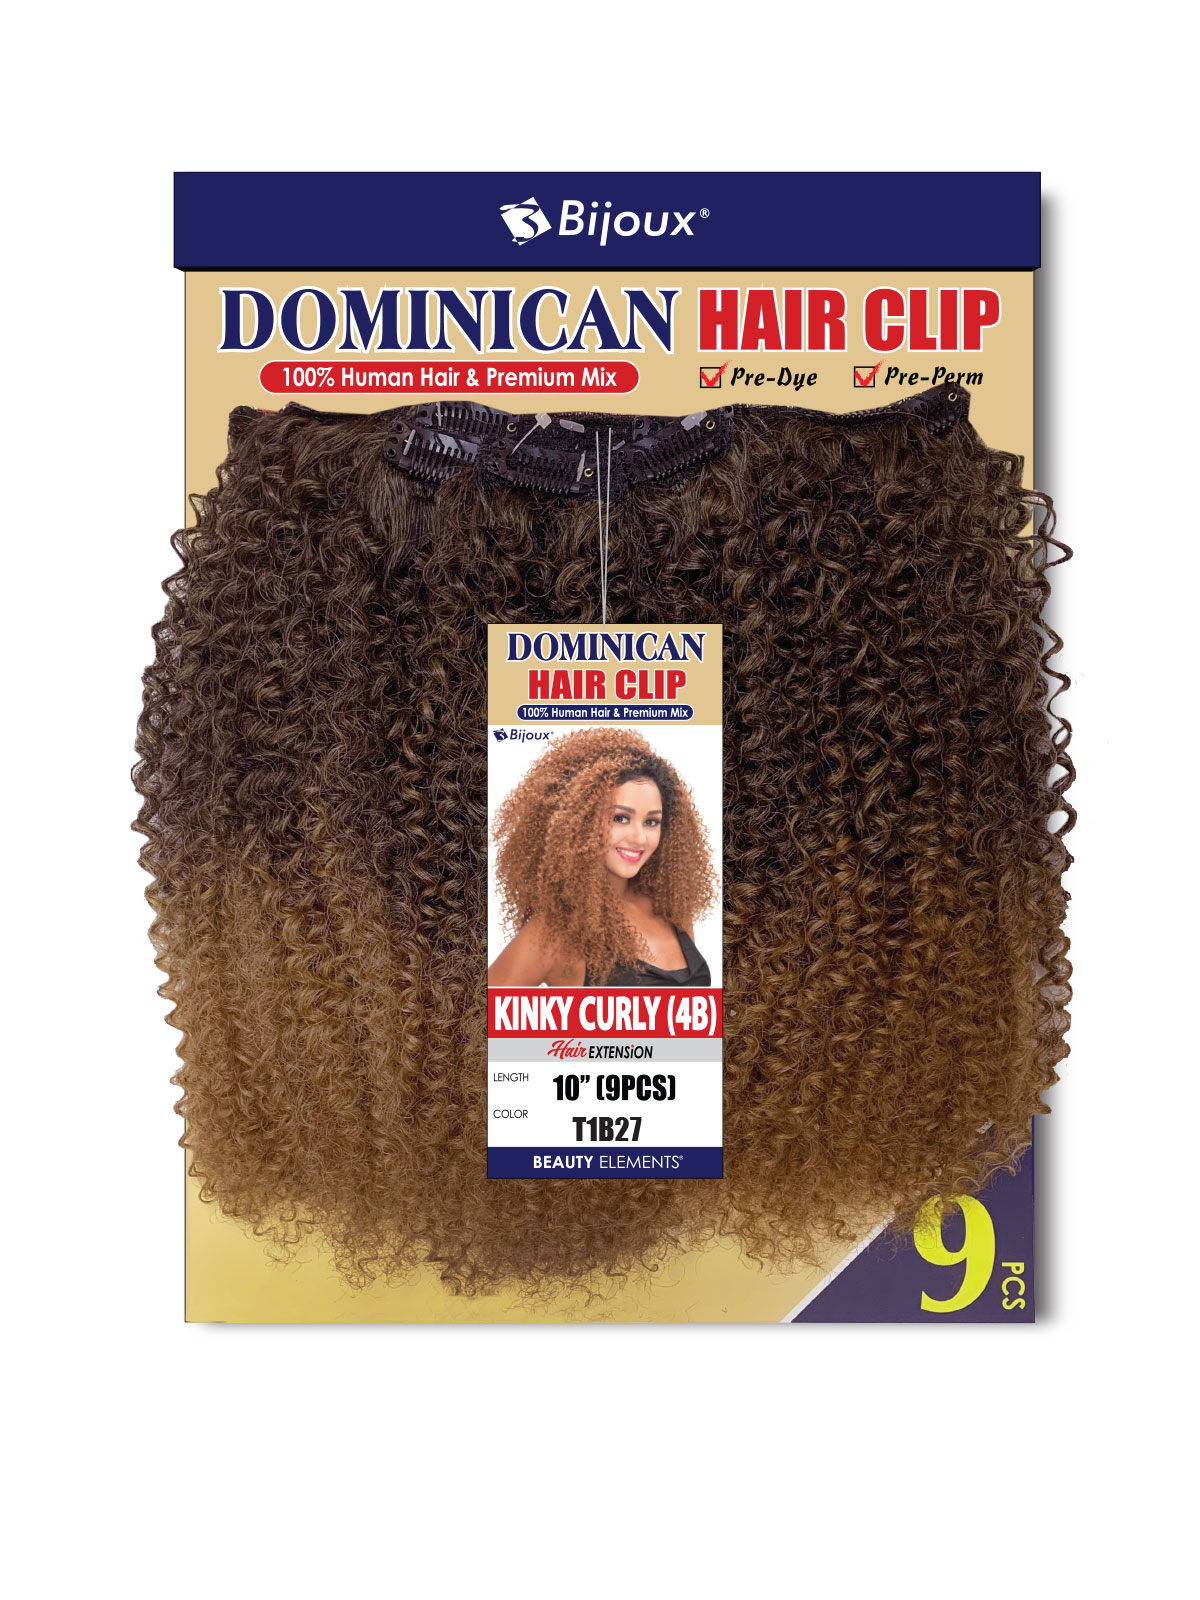
HAIR CLIP KINKY CURLY (4B)10″(9PCS)
1
1B
2
4
T1B27
T1B30
T1BBG